Let’s be real for a moment. Staring at a pile of wrinkled clothes can feel like a chore. But what if I told you that turning that crinkled mess into a wardrobe of crisp, perfectly pressed garments is not only easy but also incredibly satisfying? The secret isn’t just about having an iron; it’s about mastering the art of steam. This comprehensive Step By Step Steam Ironing Guide is your new playbook. We’re going to transform you from an ironing novice into a fabric-taming pro, ensuring every shirt, dress, and pair of pants looks like it just came from the dry cleaner.
The magic of steam ironing lies in its ability to relax fabric fibers, making wrinkles surrender with minimal effort. It’s a faster, more effective, and gentler approach to garment care. To get started on the right foot, understanding the fundamentals is key, especially if you’re working with common fabrics. To dive deeper into a specific material, learning the nuances of how to steam iron cotton clothes is a fantastic starting point for mastering the basics.
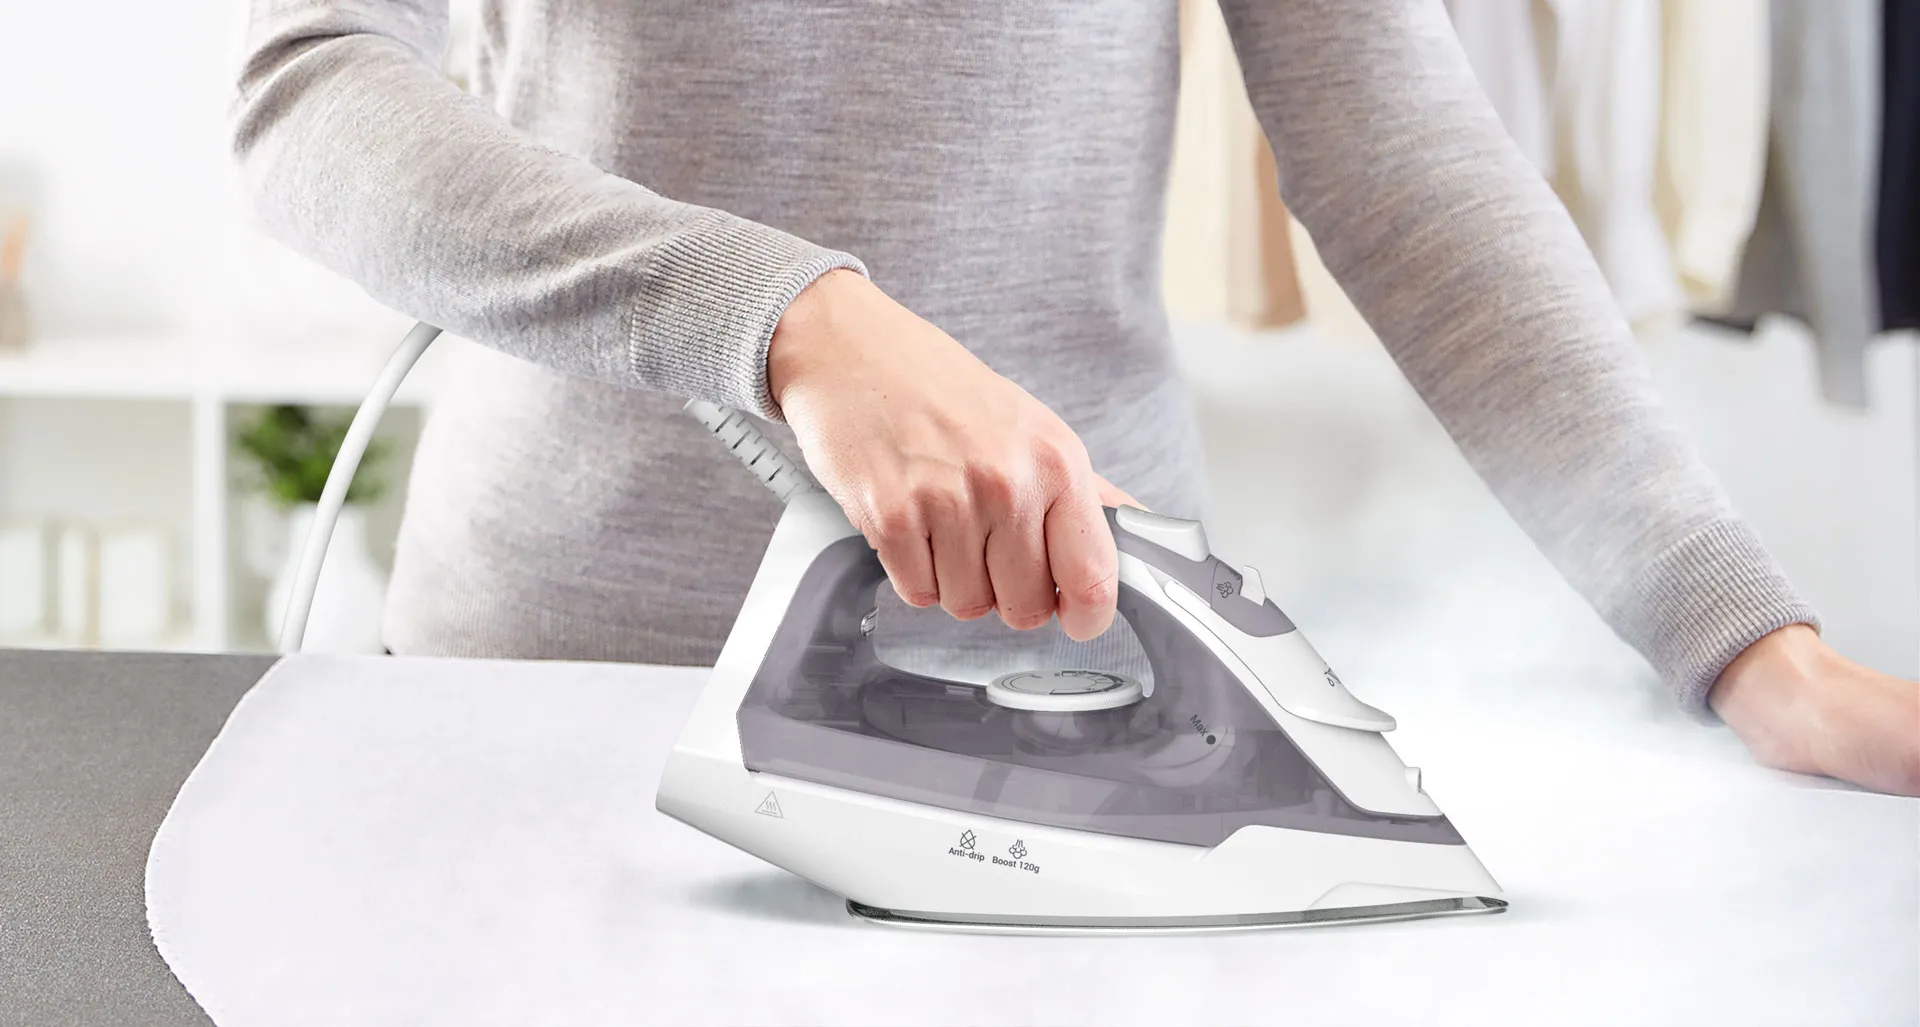
Why a Steam Iron is Your Wardrobe’s Best Friend
Before we get into the nitty-gritty, let’s talk about why a steam iron is a non-negotiable tool for anyone who cares about their clothes. Unlike a dry iron, which relies solely on heat and pressure (a combo that can easily scorch delicate fabrics), a steam iron uses a powerful burst of hot moisture.
Think of it this way: a dry iron flattens wrinkles, but a steam iron relaxes them away. This process is:
- More Efficient: Steam penetrates deep into the fabric, smoothing out stubborn creases in a single pass. This means less time spent hunched over an ironing board.
- Safer for Fabrics: The moisture acts as a protective barrier between the hot soleplate and your clothes, reducing the risk of burns and shiny marks, especially on dark colors.
- More Versatile: With features like vertical steaming, you can de-wrinkle curtains or a suit jacket right on the hanger.
Key Features to Look For in a Quality Steam Iron
Not all steam irons are created equal. When you’re ready to invest in one, or simply want to understand the one you have, here are the features that truly matter:
- Soleplate Material: The soleplate is the heart of the iron. Ceramic is fantastic for its even heat distribution and smooth glide, while stainless steel is known for its durability and excellent heat retention.
- Steam Output: Measured in grams per minute (g/min), this tells you how much continuous steam the iron produces. A higher number (think 40-50 g/min) means more power to tackle tough wrinkles.
- Water Tank Capacity: A larger tank means fewer refills. Look for one that’s at least 10 ounces (about 300ml) and has a clear body so you can see the water level.
- Anti-Calcium System: If you live in a hard water area, this is a lifesaver. It helps prevent mineral buildup, which can clog steam vents and stain your clothes.
The Ultimate Step by Step Steam Ironing Guide
Ready to get that perfect press? Grab your iron, and let’s get to work. Following this step by step steam ironing guide will guarantee professional results every time.
- Prep Your Station: Set up your ironing board in a well-lit area near a power outlet. Make sure the board is stable and its cover is clean and smooth. Have a spray bottle with distilled water handy for extra-stubborn wrinkles.
- Read the Garment Label: This is the golden rule! The care label is your instruction manual. It will tell you the ideal temperature setting (usually represented by dots). If it says “Do Not Iron,” believe it!
- Fill the Water Tank: Always fill the iron when it’s cool and unplugged. Use distilled or demineralized water. Why? Tap water contains minerals that build up over time, creating limescale that can clog your iron and stain your clothes. A crucial part of iron maintenance is understanding how to prevent limescale in steam iron to ensure its longevity and performance.
- Set the Correct Temperature: Plug in the iron and select the temperature based on the fabric care label. Start with fabrics that require the lowest heat (like synthetics) and work your way up to higher-heat fabrics (like cotton and linen). This saves you from waiting for the iron to cool down.
- The Ironing Technique: Lay the garment flat on the board.
- Start Small: Begin with smaller sections like collars, cuffs, and plackets (the strip with the buttonholes). Iron the underside of the collar first, then the top, working from the points inward.
- Move to the Main Body: For shirts, do the sleeves next, then the front panels, and finally the back. Always iron in long, straight strokes. Avoid moving the iron in a circular motion, as this can stretch the fabric.
- Let Steam Do the Work: For most fabrics, you don’t need to apply a lot of pressure. Let the combination of heat and steam glide over the fabric and release the wrinkles. Use the steam burst button for particularly stubborn creases.
- Hang It Up Immediately: Once a section is perfectly pressed, don’t let it puddle on the floor. Hang shirts and dresses on hangers and fold pants over a hanger bar right away. Letting them cool in the right shape sets the press and prevents new wrinkles from forming.
|
Our Picks for the Best Steam iron in 2026
As an Amazon Associate, we earn from qualifying purchases.
|
||
| Num | Product | Action |
|---|---|---|
| 1 | HiLIFE Steamer for Clothes, Portable Handheld Design, 240ml Big Capacity, 700W, Strong Penetrating Steam, Removes Wrinkle, for Home, Office(ONLY FOR 120V) |

|
| 2 | BEAUTURAL Steamer for Clothes, Portable Handheld Garment Fabric Wrinkles Remover, 30-Second Fast Heat-up, Auto-Off, Large Detachable Water Tank |
|
| 3 | BLACK+DECKER Easy Steam Compact Iron, IR06V, Dual Position Cord, TrueGlide Non-Stick Soleplate, Vertical Steam, SmartSteam |
|
| 4 | Hamilton Beach Steam Iron for Clothes & Garment Steamer with Smooth Press Stainless Steel Soleplate, 1200 Watts, 8’ Retractable Cord, Black (14214) |
|
| 5 | Conair Handheld Garment Steamer for Clothes, Turbo ExtremeSteam 1875W Fabric Steamer, Portable Handheld Design, Strong Penetrating Steam, White/Champagne |
|
| 6 | HiLIFE Steamer for Clothes, Portable Handheld Design, 240ml Big Capacity, 700W, Strong Penetrating Steam, Removes Wrinkle, for Home, Office(ONLY FOR 120V)-Black |
|
| 7 | BLACK+DECKER Light ‘N Easy Compact Steam Iron, IR1020S, Stainless Steel Soleplate, Spray Mist, Anti-Drip, Auto Shutoff |
|
| 8 | Portable Travel Steamer, 1200W Handheld Fabric Steamer for Clothes, 4 Modes with LCD Display, Powerful Wrinkle Remover for Home & Travel, 150ml Water Tank, 10S Fast Heat-Up, 180° Swivel Handle |
|
| 9 | Steamer for Clothes 1350W, Clothes Steamer for Home, Office, Travel, Upgraded 400ML Large Capacity Water Tank, Wrinkle Remover |
|
| 10 | HiLIFE Steamer for Clothes, Handheld Clothes Steamer with Large 300ml Tank, 1100W Strong Power, 30S Fast Heat-up, Garment Fabric Wrinkle Remover, Portable & Compact Travel Size ONLY FOR 120V (White) |
|
Pro Tips for a Flawless Finish
Want to take your skills to the next level? These are the little secrets that make a huge difference.
- Iron Inside Out: This is especially important for dark fabrics, silk, and corduroy to prevent creating a “shine” on the surface.
- Use a Pressing Cloth: For ultra-delicate fabrics like wool or velvet, place a clean, thin piece of cotton (like a pillowcase) between the iron and the garment. This provides an extra layer of protection. For a more detailed look, exploring techniques for how to steam iron wool garments can be incredibly beneficial.
- Tackle Seams and Hems First: Pressing these areas on the reverse side of the garment first lays a flat foundation for the rest of the piece.
- Don’t Iron to ‘Bone Dry’: Leaving clothes ever-so-slightly damp helps them settle into a wrinkle-free state as they hang and cool.
As our go-to textile care specialist, Catherine Lowe, always says, “The goal isn’t to crush the fabric into submission; it’s to persuade the fibers to relax. Steam is your most persuasive tool.”
How Do I Keep My Steam Iron in Top Shape?
Keeping your steam iron in top shape is simple and ensures it works effectively for years. The most important task is regular cleaning to prevent mineral deposits from clogging the steam vents. This means emptying the water tank after every use and performing a deep clean every month or two.
A little maintenance goes a long way. After every use, once the iron is cool and unplugged, empty any remaining water from the tank. This prevents stagnant water from building up residue. Store your iron upright to protect the soleplate and prevent any accidental leaks. For a deep clean, a simple, non-toxic solution is often best. In fact, many people find great success when they learn how to clean steam iron with vinegar, as it effectively dissolves mineral buildup without harsh chemicals.
Frequently Asked Questions (FAQ)
What is the best water to use in a steam iron?
The best water is distilled or demineralized water. It’s free of the minerals found in tap water that cause limescale buildup, which can clog your iron and shorten its lifespan.
How often should I clean my steam iron?
You should perform a self-clean or deep clean every 1-2 months, depending on how often you use it and the hardness of your water. Always empty the tank after each use.
What is vertical steaming and when should I use it?
Vertical steaming allows you to direct steam at hanging garments or drapery. It’s perfect for refreshing a suit, de-wrinkling a delicate dress on its hanger, or smoothing out curtains without taking them down. Mastering how to use steam iron for vertical steaming is a game-changer for quick touch-ups.
Why is my steam iron spitting brown water?
This is usually a sign of mineral buildup (limescale) inside the iron. It’s time for a thorough cleaning. The brown color comes from a combination of minerals and burnt fabric fibers that have been trapped inside.
Can I iron all fabrics with steam?
Most fabrics benefit from steam, including cotton, linen, and most synthetics. However, for very delicate materials like some silks or velvets, it’s best to hover the iron over the fabric and use steam without direct contact, or use a pressing cloth.
Your Journey to Wrinkle-Free Confidence
Mastering your steam iron is more than just a household chore; it’s a skill that elevates your entire wardrobe and boosts your confidence. By following this step by step steam ironing guide, you now have the knowledge and technique to achieve a flawless, professional finish on any garment. You understand the “why” behind the steam, the “what” to look for in a great tool, and the “how” to use it like an expert. Go forth and conquer that laundry pile—your crisp, perfectly pressed clothes are waiting.