Let’s be honest for a moment. You’ve spent hours, maybe even days, picking the perfect fabric, meticulously cutting your pattern pieces, and pinning everything with surgical precision. The last thing you want is a subpar iron that spits rusty water, fails to press a crisp seam, or worse, scorches your precious material. When you’re ready to buy a steam iron for sewing projects, you’re not just buying an appliance; you’re investing in a critical partner for your craft. A great iron can be the difference between a homemade-looking garment and a professional, boutique-quality creation.
I’ve been there. I remember working on a silk charmeuse blouse, and my old, sputtering iron left a watermark right on the front panel. It was heartbreaking. That’s when I realized that for sewers, quilters, and creators, a steam iron isn’t an afterthought—it’s a foundational tool. This guide will walk you through everything you need to know to choose an iron that will elevate your sewing and make every press a pleasure.
Why is a Good Steam Iron So Crucial for Sewing?
First things first, let’s clear up a common misconception. In the world of sewing, we don’t iron; we press. Ironing involves sliding the hot plate back and forth across the fabric, which can stretch and distort the grain—a disaster for carefully cut pattern pieces. Pressing is the gentle act of lifting and placing the iron down on a specific area, using heat and steam to meld seams, create sharp creases, and shape the fabric.
A quality steam iron is purpose-built for this. It delivers a powerful burst of steam that penetrates fabric fibers, relaxing them so they can be shaped and set perfectly as they cool. This process is essential for:
- Setting Seams: Pressing seams open or to one side creates a flat, professional finish and reduces bulk.
- Creating Sharp Edges: Think crisp collars, sharp pleats, and perfect hems.
- Applying Fusibles: Attaching interfacing or appliqué requires even, consistent heat and steam.
- Pre-shrinking Fabric: Running a steam iron over your fabric before cutting is a quick way to ensure it won’t shrink after the first wash.
Key Features When You Buy a Steam Iron for Sewing Projects
Not all steam irons are created equal, especially when it comes to the specific demands of sewing and quilting. Here are the non-negotiable features you should be looking for.
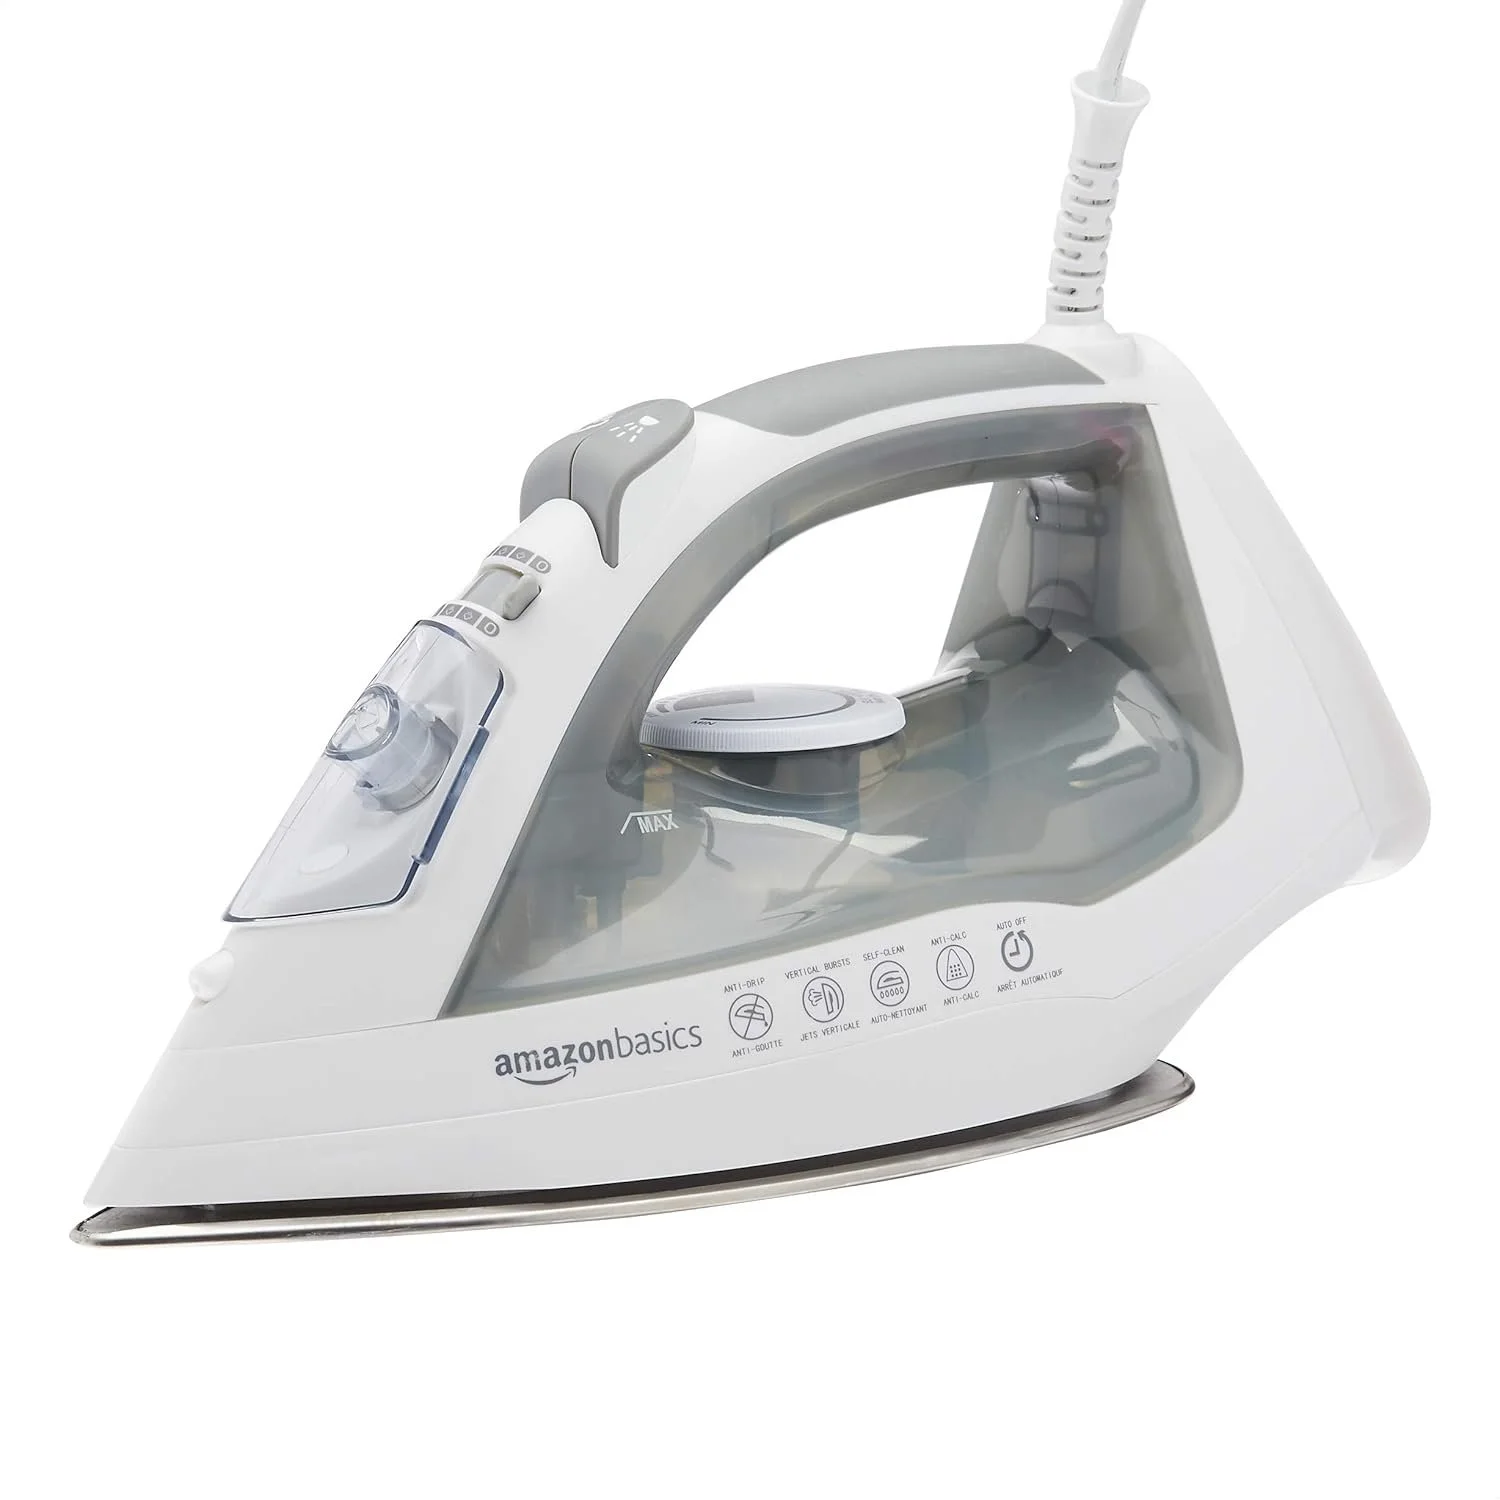
The Soleplate: Your Fabric’s Gateway to Perfection
The soleplate is where the magic happens. Its material and design directly impact your results.
- Material: You’ll typically choose between stainless steel and ceramic. Stainless steel is durable, heats up quickly, and glides smoothly. Ceramic-coated soleplates offer incredibly even heat distribution and are fantastic for preventing snags on delicate fabrics, but can be more prone to chipping if dropped.
- Steam Holes: Look for a soleplate with a high number of micro-steam holes distributed across the entire surface. This ensures even steam delivery, rather than just a puff from the tip.
- Precision Tip: A tapered, pointed tip is a sewer’s best friend. It allows you to get into tight corners, press seams around collars and cuffs, and navigate around buttons and zippers with ease.
Steam Power and Control: The Real Workhorse
Powerful, controllable steam is the number one reason to get a dedicated sewing iron.
- Continuous Steam: This feature provides a steady, consistent flow of steam, which is perfect for prepping large cuts of fabric.
- Burst of Steam: Sometimes called a “shot of steam,” this is a powerful blast used to set stubborn seams or flatten bulky intersections, like on a quilt block. You want a button that is easy to reach and responsive.
- Vertical Steam: While less critical for pressing flat pieces, this is a fantastic bonus for steaming finished garments on a hanger to release any final wrinkles.
The Great Auto Shut-Off Debate
This is a hot topic in the sewing community. Standard irons have an auto shut-off feature for safety, turning the iron off after a period of inactivity (e.g., 30 seconds face down, 8-15 minutes on its heel).
“For a long time, I swore I needed an iron without auto-shutoff,” shares Eleanor Vance, a professional quilter with over 30 years of experience. “But modern irons have smarter, longer timers. The safety benefit of knowing my iron will turn off if I get distracted by a phone call far outweighs the minor inconvenience of having to wait a few seconds for it to heat back up.”
Ultimately, the choice is yours. If you frequently move between your sewing machine and your ironing board, a longer shut-off timer (15-30 minutes) is a great compromise between safety and convenience.
Water Tank and Ergonomics
- Water Tank: A larger, transparent water tank means fewer refills during a long sewing session. Look for one that’s easy to fill. Critically, always check if the manufacturer recommends tap or distilled water. Using the wrong type can lead to mineral buildup and spitting. At Steam Iron Water, we always advocate for distilled water to prolong your iron’s life.
- Weight & Comfort: The ideal weight is subjective. A heavier iron can help with pressing, as its weight does some of the work for you. However, a lighter iron reduces arm fatigue during marathon quilting sessions. Try to find a balance that feels comfortable in your hand.
|
Our Picks for the Best Steam iron in 2026
As an Amazon Associate, we earn from qualifying purchases.
|
||
| Num | Product | Action |
|---|---|---|
| 1 | HiLIFE Steamer for Clothes, Portable Handheld Design, 240ml Big Capacity, 700W, Strong Penetrating Steam, Removes Wrinkle, for Home, Office(ONLY FOR 120V)-Black |

|
| 2 | BLACK+DECKER Light ‘N Easy Compact Steam Iron, IR1020S, Stainless Steel Soleplate, Spray Mist, Anti-Drip, Auto Shutoff |
|
| 3 | HiLIFE Steamer for Clothes, Handheld Clothes Steamer with Large 300ml Tank, 1100W Strong Power, 30S Fast Heat-up, Garment Fabric Wrinkle Remover, Portable & Compact Travel Size ONLY FOR 120V (White) |
|
| 4 | Conair Handheld Garment Steamer for Clothes, Turbo ExtremeSteam 1875W Fabric Steamer, Portable Handheld Design, Strong Penetrating Steam, White/Champagne |
|
| 5 | BLACK+DECKER Easy Steam Compact Iron, IR06V, Dual Position Cord, TrueGlide Non-Stick Soleplate, Vertical Steam, SmartSteam |
|
| 6 | BEAUTURAL Steamer for Clothes, Portable Handheld Garment Fabric Wrinkles Remover, 30-Second Fast Heat-up, Auto-Off, Large Detachable Water Tank |
|
| 7 | HiLIFE Steamer for Clothes, Portable Handheld Design, 240ml Big Capacity, 700W, Strong Penetrating Steam, Removes Wrinkle, for Home, Office(ONLY FOR 120V) |
|
| 8 | Hamilton Beach Steam Iron for Clothes & Garment Steamer with Smooth Press Stainless Steel Soleplate, 1200 Watts, 8’ Retractable Cord, Black (14214) |
|
| 9 | Steamer for Clothes 1350W, Clothes Steamer for Home, Office, Travel, Upgraded 400ML Large Capacity Water Tank, Wrinkle Remover |
|
| 10 | Portable Travel Steamer, 1200W Handheld Fabric Steamer for Clothes, 4 Modes with LCD Display, Powerful Wrinkle Remover for Home & Travel, 150ml Water Tank, 10S Fast Heat-Up, 180° Swivel Handle |
|
How to Press Like a Professional Seamstress
Having the right tool is only half the battle. Using it correctly will transform your projects.
- Set Your Station: Use a sturdy, flat ironing board with a clean cover. A wool pressing mat is a fantastic accessory for quilters as it retains heat and helps press seams incredibly flat.
- Test First: Always test your iron’s heat and steam settings on a scrap piece of your project fabric. This prevents tragic melting or scorching incidents.
- Press As You Go: This is the golden rule of sewing. Press every single seam after you sew it. It may seem tedious, but it’s the single most effective thing you can do to achieve a professional finish.
- Use a Pressing Cloth: For delicate fabrics like silk, velvet, or wool, always use a pressing cloth (a simple piece of cotton muslin or organza will do). This protects the fabric from direct heat and prevents shine.
- Lift, Don’t Drag: Remember, it’s pressing, not ironing. Lift the iron completely off the fabric and place it down on the next section. This maintains the fabric’s grainline.
Maintaining Your Sewing Iron for a Long, Happy Life
Your iron is an investment, so treat it like one! Proper care will ensure it performs beautifully for years.
- Empty the Tank: Always empty the water tank after each use. Letting water sit inside can promote mineral buildup and gunk.
- Clean the Soleplate: If you get fusible interfacing or starch buildup on your soleplate, clean it while the iron is warm (but unplugged!). You can use a dedicated iron cleaner or a simple paste of baking soda and water.
- Descale Regularly: Even with distilled water, some buildup can occur. Follow your manufacturer’s instructions for the self-clean or anti-calc function every month or two, depending on your usage. You can learn more about the best descaling practices [in our complete guide here].
Frequently Asked Questions (FAQ)
What is the best temperature for pressing cotton fabric?
For most cotton and linen fabrics, a high heat setting is ideal. This is usually marked as “Cotton” or by three dots on the temperature dial. Always use steam for the best results and test on a scrap piece first.
Can I use tap water in my steam iron?
It depends on your iron’s manual and the hardness of your water. However, to prevent mineral deposits that can clog steam vents and stain fabrics, using distilled water is always the safest and best practice for any steam iron.
How are sewing irons different from regular household irons?
While they share basic functions, the best steam iron for sewing projects will prioritize features like a highly accurate precision tip, powerful and consistent steam output, and often a soleplate designed for a flawless glide over various textiles, from delicate silk to heavy denim.
Is a more expensive iron always better for sewing?
Not necessarily. While high-end models often offer superior steam power and durability, you can find excellent mid-range irons that have all the key features a sewer needs. Focus on the features—precision tip, steam control, quality soleplate—rather than just the price tag.
How do I stop my iron from leaving shiny marks on fabric?
Shiny marks are usually caused by too much heat or pressure on synthetic or dark-colored fabrics. The best way to prevent this is to use a pressing cloth and to press from the wrong side of the fabric whenever possible.
Your Final Stitch
Choosing the right tool is a declaration of how much you value your craft. When you buy a steam iron for sewing projects, you are choosing to invest in flatter seams, sharper creases, and a more professional finish for everything you create. It’s a tool that works with you, not against you, turning a simple chore into a satisfying part of the creative process. Armed with this knowledge, you can now confidently select an iron that will become a trusted partner in your sewing room for many projects to come.