Welcome to the world of quilting, where every stitch, every cut, and every press matters. If you’re wondering how to use a steam iron for quilting to achieve those perfectly flat seams and crisp blocks, you’ve come to the right place. Let’s be honest, the difference between a good quilt and a great quilt often comes down to one humble tool: your steam iron. Think of it not just as an appliance, but as your creative partner in bringing your patchwork vision to life. This guide will walk you through everything you need to know, turning your pressing game from a chore into a precise art form.
Why a Steam Iron is a Quilter’s Best Friend
Before we dive into the “how,” let’s talk about the “why.” A dry iron simply uses heat and pressure. A steam iron, on the other hand, adds a third, powerful element: moisture. This trifecta is what makes it indispensable for quilters.
Steam penetrates the fabric fibers, relaxing them and making them more pliable. This allows you to press seams completely flat with less effort and pressure, preventing the stretching and distortion that can ruin the geometry of your quilt blocks. A well-pressed block is the foundation of an accurate and beautiful quilt. Without it, you’re essentially building on shaky ground.
What Makes a Great Steam Iron for Quilting?
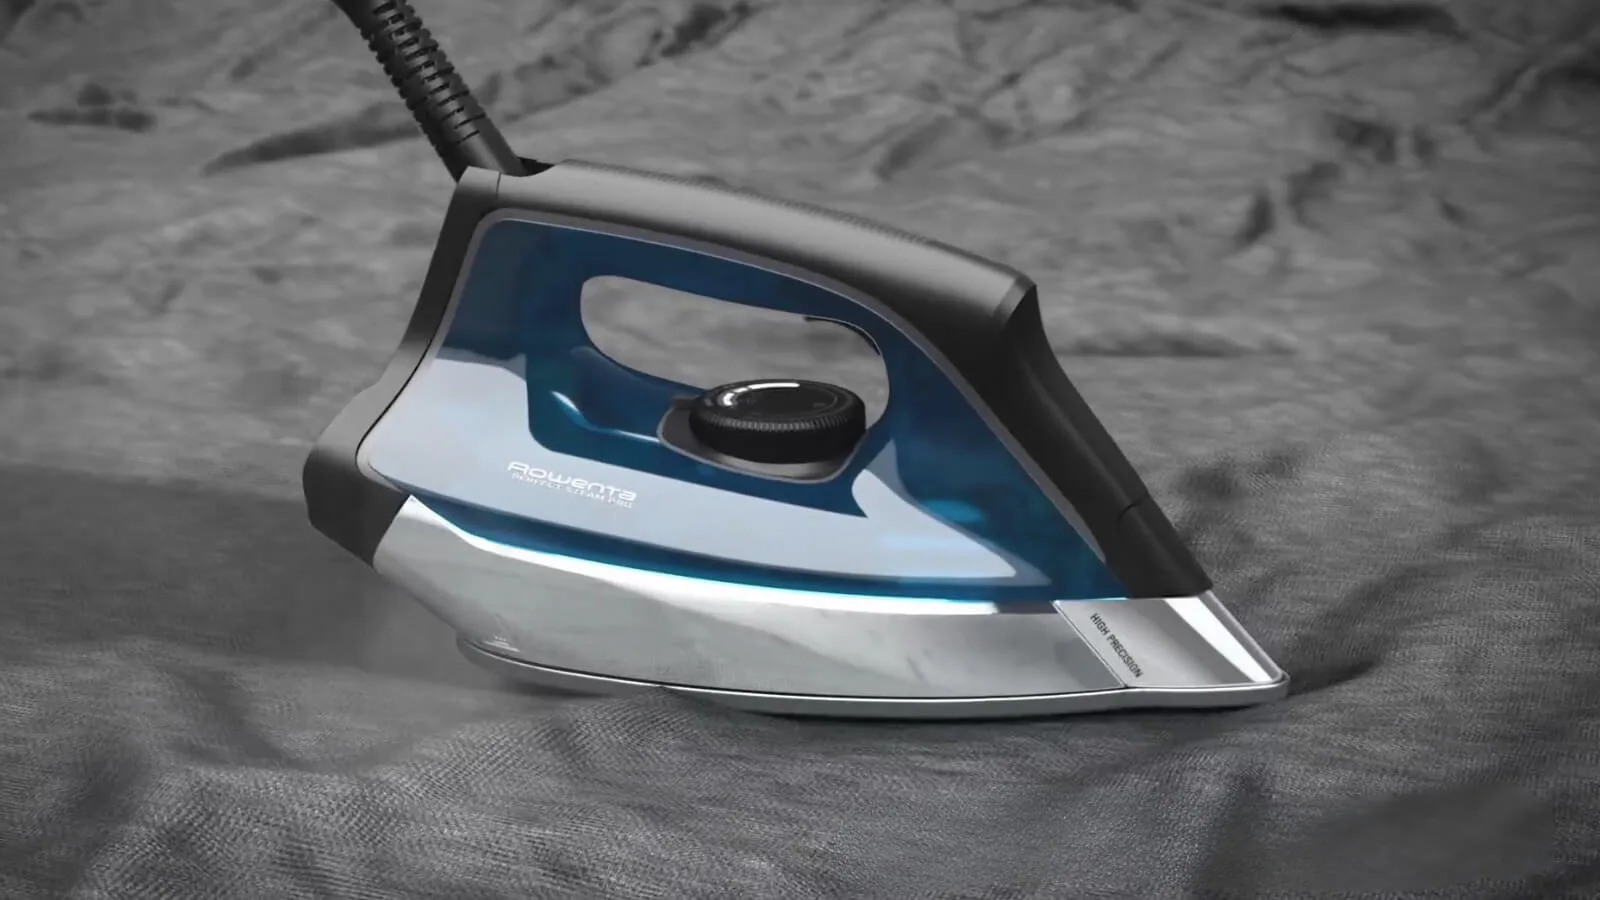
Not all steam irons are created equal, especially when it comes to the specific demands of quilting. When you’re in the market for a new quilting companion, or evaluating your current one, here are the key features to look for:
- High, Consistent Steam Output: Look for an iron with numerous steam holes distributed evenly across the soleplate. This ensures steam penetrates the entire area you’re pressing.
- A Precision Tip: A tapered, pointed tip is crucial for getting into tight corners and pressing small, intricate seams without disturbing adjacent work.
- Weight and Ergonomics: A slightly heavier iron can be your friend, as its weight does some of the pressing work for you. However, it must also feel comfortable in your hand for long quilting sessions.
- Large Water Tank: Quilting involves a lot of pressing. A larger, easy-to-fill water tank means fewer trips to the sink. A transparent tank is a bonus so you can see the water level at a glance.
- A Smooth Soleplate: Materials like ceramic or stainless steel glide effortlessly over fabric, preventing snags. A clean soleplate is non-negotiable.
The Ultimate Guide: How to Use a Steam Iron for Quilting
Ready to transform your piecing? Let’s break down the process step-by-step. This is where the magic happens, turning limp fabric pieces into sharp, professional-looking quilt blocks.
Step 1: The Prep Work – Getting Ready to Press
First things first, set up your station for success.
- Fill the Water Tank: Always use the type of water recommended by your iron’s manufacturer. In many areas with hard water, using distilled water is a fantastic idea to prevent mineral buildup that can clog steam vents and stain your fabric.
- Set the Right Temperature: For 100% quilting cotton, a high heat or “Cotton” setting is usually perfect. Always test on a scrap piece of fabric first if you’re unsure. Let the iron heat up completely before you start.
- Prepare Your Pressing Surface: A firm, flat, and heat-resistant surface is key. A dedicated wool pressing mat is a quilter’s luxury that’s worth every penny. It retains heat, effectively pressing your fabric from both sides at once.
Step 2: Pre-Washing and Preparing Your Fabric
Many quilters pre-wash their fabrics to pre-shrink them and remove any manufacturing chemicals. If you do, you’ll need to press them before cutting.
- Press While Damp: The easiest way to get wrinkle-free fabric is to press it while it’s still slightly damp from the wash.
- Use Steam and Starch (Optional): Lightly spray your fabric with steam or a starch alternative like Best Press. This adds body to the cotton, making it easier to cut accurately and preventing the edges from stretching during piecing.
- Glide, Don’t Drag: Move the iron smoothly across the fabric. Avoid pulling or stretching the material, as this can distort the grain.
Step 3: The Art of Pressing Seams
This is the most critical application of your steam iron in quilting. Your goal is to make the seam allowances lie as flat as possible.
- Set the Seam: After sewing two pieces together, place them on your pressing surface with the seam line facing up. Gently press the hot, dry iron directly onto the closed seam. This “sets” the stitches into the fabric, melding them together for a stronger, flatter seam.
- Choose Your Direction: Now, you have a choice: press the seam open or to one side.
- Pressing to the Side (Usually the Darker Fabric): This is the most common method. It creates a strong seam and helps prevent the darker fabric from showing through the lighter one. Simply flip the top piece of fabric over and use the tip of your iron to press the seam allowance towards the darker fabric.
- Pressing Seams Open: This method results in the flattest possible block, which is ideal when multiple seams will intersect at one point (like in a pinwheel block). Carefully use your fingers to open the seam allowance, then press the iron flat down the middle of the seam.
A Note from the Pros: “Your iron is as important as your sewing machine,” says Eleanor Vance, a veteran quilt instructor with over 30 years of experience. “The secret to perfect points and flat blocks isn’t magic; it’s meticulous pressing. Take your time, use steam to relax the fibers, and press—don’t iron. The difference is in the motion.”
Step 4: Pressing Quilt Blocks and the Final Top
Once your individual units are pieced, you’ll press the larger blocks.
- Press as You Go: Always press the seams of each new section before joining it to another. Trying to press a large, complex block all at once is a recipe for frustration.
- Handle with Care: Support the weight of the block as you press to avoid stretching it out of shape, especially on bias edges.
- Final Press: When your entire quilt top is assembled, give it one final, careful press before layering it for quilting. Work from the center out to the edges.
Pro Tips and Tricks for Flawless Quilting Pressing
- Press, Don’t Iron: This is the golden rule. Pressing is an up-and-down motion. Ironing is a back-and-forth, gliding motion. For quilting, you want to press. Gliding can stretch and distort your carefully cut pieces.
- Use a “Clapper”: A wooden clapper is a simple tool that works wonders. After pressing a seam with steam, immediately place the clapper on top. The wood absorbs the heat and moisture, setting the seam to an incredibly flat, crisp finish.
- Steam is Your Friend, Puddles are Not: You want a good burst of steam, not a sputtering stream of water that can leave spots. If your iron is dripping, it might not be hot enough, or it could be overfilled.
- Nesting Seams: When joining two rows, if you’ve pressed the seams in opposite directions, they will “nest” or lock together. This is a game-changer for aligning your points perfectly.
Steam Iron vs. Dry Iron for Quilting: What’s the Real Difference?
So, can you get by with a dry iron? Technically, yes, but you’re making the job much harder. A dry iron relies solely on heat and your own pressure to flatten seams. A steam iron uses the penetrating power of hot moisture to relax the fabric’s memory, allowing you to achieve a much flatter, crisper result with less force and a lower risk of stretching the fabric. For the precision quilting requires, steam isn’t a luxury; it’s a necessity.
|
Our Picks for the Best Steam iron in 2026
As an Amazon Associate, we earn from qualifying purchases.
|
||
| Num | Product | Action |
|---|---|---|
| 1 | BLACK+DECKER Easy Steam Compact Iron, IR06V, Dual Position Cord, TrueGlide Non-Stick Soleplate, Vertical Steam, SmartSteam |

|
| 2 | Hamilton Beach Steam Iron for Clothes & Garment Steamer with Smooth Press Stainless Steel Soleplate, 1200 Watts, 8’ Retractable Cord, Black (14214) |
|
| 3 | BEAUTURAL Steamer for Clothes, Portable Handheld Garment Fabric Wrinkles Remover, 30-Second Fast Heat-up, Auto-Off, Large Detachable Water Tank |
|
| 4 | HiLIFE Steamer for Clothes, Portable Handheld Design, 240ml Big Capacity, 700W, Strong Penetrating Steam, Removes Wrinkle, for Home, Office(ONLY FOR 120V) |
|
| 5 | Steamer for Clothes 1350W, Clothes Steamer for Home, Office, Travel, Upgraded 400ML Large Capacity Water Tank, Wrinkle Remover |
|
| 6 | HiLIFE Steamer for Clothes, Handheld Clothes Steamer with Large 300ml Tank, 1100W Strong Power, 30S Fast Heat-up, Garment Fabric Wrinkle Remover, Portable & Compact Travel Size ONLY FOR 120V (White) |
|
| 7 | Portable Travel Steamer, 1200W Handheld Fabric Steamer for Clothes, 4 Modes with LCD Display, Powerful Wrinkle Remover for Home & Travel, 150ml Water Tank, 10S Fast Heat-Up, 180° Swivel Handle |
|
| 8 | HiLIFE Steamer for Clothes, Portable Handheld Design, 240ml Big Capacity, 700W, Strong Penetrating Steam, Removes Wrinkle, for Home, Office(ONLY FOR 120V)-Black |
|
| 9 | Conair Handheld Garment Steamer for Clothes, Turbo ExtremeSteam 1875W Fabric Steamer, Portable Handheld Design, Strong Penetrating Steam, White/Champagne |
|
| 10 | BLACK+DECKER Light ‘N Easy Compact Steam Iron, IR1020S, Stainless Steel Soleplate, Spray Mist, Anti-Drip, Auto Shutoff |
|
Keeping Your Quilting Companion in Top Shape
A well-maintained iron is a happy iron. To ensure it performs its best and lasts for years, follow these simple steps:
- Empty the Water After Each Use: Never store your iron with water in the tank. This prevents leaks and the buildup of mildew and minerals.
- Clean the Soleplate Regularly: If you get fusible web or starch buildup, clean the soleplate while it’s cool using a dedicated iron cleaner or a paste of baking soda and water. For a full guide, check out our article on
[internal link to how to clean a steam iron]. - Use the Self-Clean Function: Most modern steam irons have a self-clean or anti-calc function. Use it monthly (or as the manual suggests) to flush out mineral deposits.
Frequently Asked Questions
Q: Should I always use steam when quilting?
A: Almost always. Steam is best for setting seams and pressing cotton fabric flat. The only exception might be when working with delicate materials like silk or when applying fusible applique, where a dry iron is sometimes recommended.
Q: Is it better to use distilled water in my steam iron?
A: Yes, in most cases. Using distilled water is the single best thing you can do to prolong the life of your iron and prevent it from spitting mineral deposits onto your quilt. Check your iron’s manual, as a few high-end models have built-in demineralization systems.
Q: Can I use tap water in a pinch?
A: If your manual allows it and you’re in a pinch, yes. However, be aware that this will lead to mineral buildup over time. If you use tap water, you’ll need to use the self-clean function much more frequently.
Q: What is the best temperature for pressing quilting cotton?
A: A hot setting, typically labeled “Cotton” or marked with three dots, is ideal for 100% quilting cotton. This high heat, combined with steam, gives you the crispest results.
Q: My seams won’t stay flat. What am I doing wrong?
A: This could be a few things. First, make sure you’re “setting the seam” before pressing it open or to the side. Second, ensure your iron is fully heated and producing a good amount of steam. Finally, consider using a wooden clapper immediately after pressing to lock in that flatness.
Your Quilt Deserves the Best Press
Mastering how to use a steam iron for quilting is a journey, but it’s one that pays off in every perfect point and flat block. By understanding the power of steam, adopting a “press, don’t iron” mentality, and taking care of your equipment, you’re not just finishing a project; you’re elevating your craft. So, fire up that iron, let the steam flow, and press your way to a more beautiful, professional-looking quilt.