Let’s be honest, nobody gets excited about ironing. It’s one of those household chores we often put off until we’re staring at a wrinkled shirt just minutes before a big meeting or a first date. But what if I told you that the right tool could transform this task from a dreaded chore into a satisfying, almost therapeutic, ritual? That’s where this Budget Steam Iron Review comes in. You don’t need to spend a fortune to achieve that crisp, professional look. The secret is knowing exactly what to look for, and I’m here to pull back the curtain and show you how to get incredible value without breaking the bank.
Why Even Bother With a Steam Iron?
First things first, what’s the big deal with steam? A dry iron just uses heat and pressure to flatten fabric. It works, but it’s a bit of a brute-force method. A steam iron, on the other hand, is far more sophisticated. Think of it this way: steam penetrates deep into the fabric fibers, causing them to relax and soften. This makes it infinitely easier to press out wrinkles, often in a single pass. It’s the difference between trying to bend a cold, stiff piece of plastic and a warm, pliable one. The steam does half the work for you, cutting down your ironing time and delivering a smoother, longer-lasting finish.
What to Look For in Our Budget Steam Iron Review
Finding a great iron on a budget isn’t about finding the cheapest option; it’s about finding the smartest option. You’re looking for that sweet spot of performance, durability, and price. Here are the non-negotiable features you should focus on.
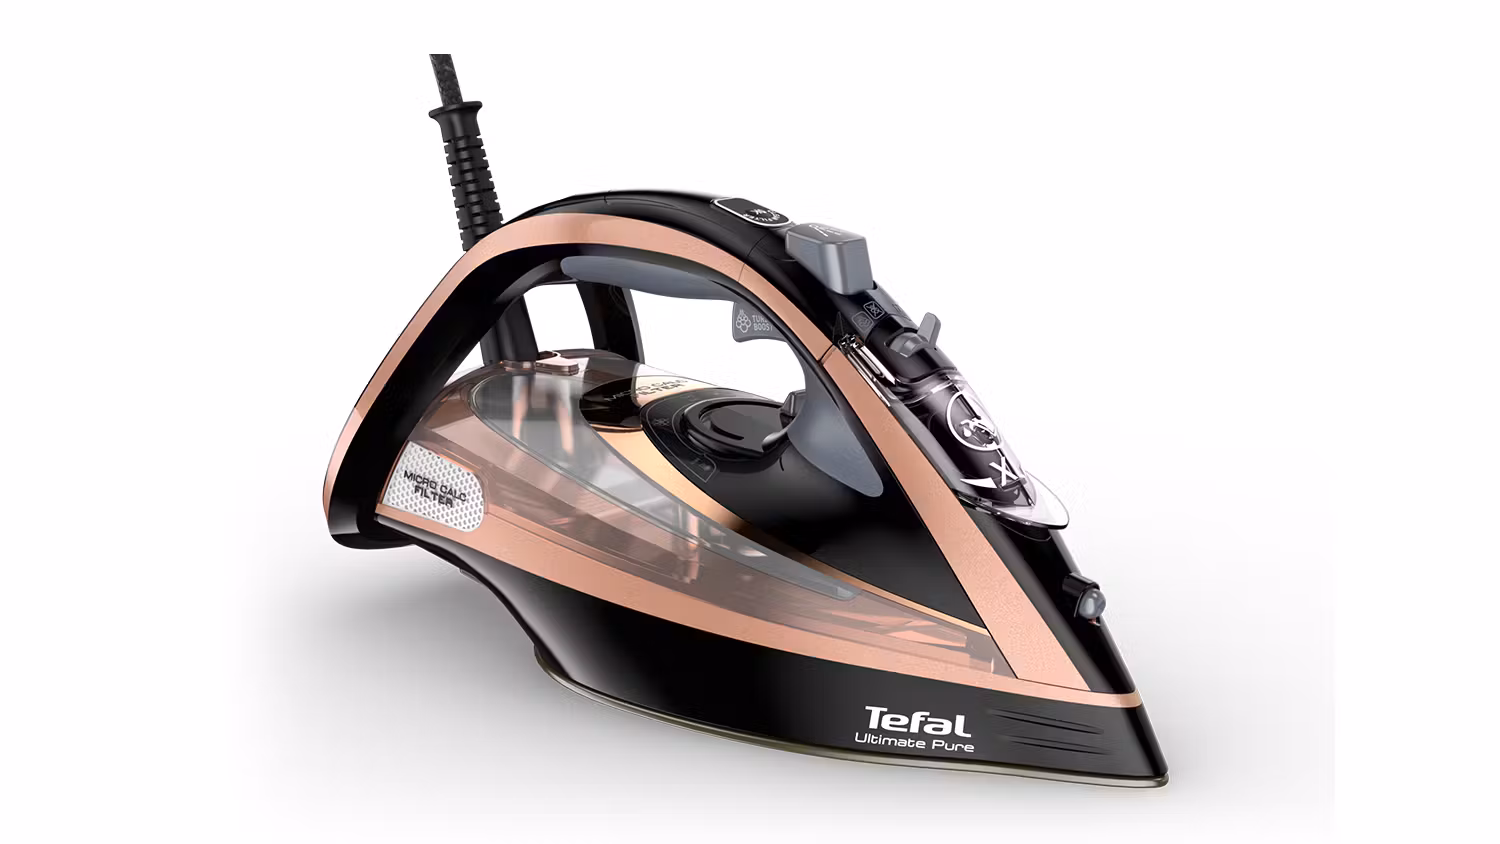
Soleplate Material: The Heart of the Iron
The soleplate is the metal plate that makes direct contact with your clothes. Its material dictates how smoothly it glides and how evenly it distributes heat.
- Ceramic: A popular choice in budget-friendly models. Ceramic soleplates are fantastic for their even heat distribution and non-stick properties, gliding effortlessly over most fabrics. Their main drawback is that they can chip or crack if dropped.
- Stainless Steel: The workhorse of soleplates. It’s incredibly durable, conducts heat very well, and is easy to clean. While it glides smoothly, it might not be quite as slick as a high-end ceramic plate. For a budget steam iron review, this is often the most reliable choice.
- Non-stick (Teflon-coated): These are great for preventing fabrics from sticking and are a breeze to clean. However, the coating can scratch or wear off over time, diminishing its effectiveness.
Steam Output: The Real Wrinkle Buster
This is where the magic happens. Steam output is typically measured in grams per minute (g/min). The higher the number, the more powerful the continuous steam, and the faster you’ll erase wrinkles. For a budget iron, look for something that offers at least 25-35 g/min of continuous steam.
Also, check for a “steam burst” or “shot of steam” feature. This button releases a powerful puff of steam to tackle extra-stubborn creases, especially on fabrics like linen or heavy cotton.
Water Tank and Anti-Drip Features
How often do you want to run back to the sink? A larger water tank (around 250-300 ml or more) means fewer refills. A transparent tank is also a huge plus, so you can see the water level at a glance.
An anti-drip system is crucial. Cheaper irons can sometimes leak or spit water at lower temperatures, leaving annoying water spots on your delicate fabrics. An anti-drip feature prevents this, ensuring a clean press every time.
Heat Settings and Safety Features
Your iron needs to be versatile enough to handle everything from delicate silk to rugged denim. Look for an iron with clearly labeled, variable temperature settings.
An absolute must-have, even on a budget, is the auto shut-off feature. It will turn the iron off automatically if left inactive for a certain period (usually 30 seconds face down or 8 minutes on its heel). It’s a simple feature that provides priceless peace of mind.
|
Our Picks for the Best Steam iron in 2026
As an Amazon Associate, we earn from qualifying purchases.
|
||
| Num | Product | Action |
|---|---|---|
| 1 | Hamilton Beach Steam Iron for Clothes & Garment Steamer with Smooth Press Stainless Steel Soleplate, 1200 Watts, 8’ Retractable Cord, Black (14214) |

|
| 2 | BLACK+DECKER Easy Steam Compact Iron, IR06V, Dual Position Cord, TrueGlide Non-Stick Soleplate, Vertical Steam, SmartSteam |
|
| 3 | HiLIFE Steamer for Clothes, Portable Handheld Design, 240ml Big Capacity, 700W, Strong Penetrating Steam, Removes Wrinkle, for Home, Office(ONLY FOR 120V)-Black |
|
| 4 | HiLIFE Steamer for Clothes, Handheld Clothes Steamer with Large 300ml Tank, 1100W Strong Power, 30S Fast Heat-up, Garment Fabric Wrinkle Remover, Portable & Compact Travel Size ONLY FOR 120V (White) |
|
| 5 | BLACK+DECKER Light ‘N Easy Compact Steam Iron, IR1020S, Stainless Steel Soleplate, Spray Mist, Anti-Drip, Auto Shutoff |
|
| 6 | BEAUTURAL Steamer for Clothes, Portable Handheld Garment Fabric Wrinkles Remover, 30-Second Fast Heat-up, Auto-Off, Large Detachable Water Tank |
|
| 7 | Steamer for Clothes 1350W, Clothes Steamer for Home, Office, Travel, Upgraded 400ML Large Capacity Water Tank, Wrinkle Remover |
|
| 8 | HiLIFE Steamer for Clothes, Portable Handheld Design, 240ml Big Capacity, 700W, Strong Penetrating Steam, Removes Wrinkle, for Home, Office(ONLY FOR 120V) |
|
| 9 | Conair Handheld Garment Steamer for Clothes, Turbo ExtremeSteam 1875W Fabric Steamer, Portable Handheld Design, Strong Penetrating Steam, White/Champagne |
|
| 10 | Portable Travel Steamer, 1200W Handheld Fabric Steamer for Clothes, 4 Modes with LCD Display, Powerful Wrinkle Remover for Home & Travel, 150ml Water Tank, 10S Fast Heat-Up, 180° Swivel Handle |
|
How Do I Use My New Steam Iron Like a Pro?
Getting a great iron is only half the battle. Using it correctly is what delivers that flawless finish. It’s simpler than you think!
- Prep Your Space: Use a sturdy, flat ironing board with a clean cover. Make sure you have enough space to work without feeling cramped.
- Read the Garment Label: This is the golden rule! The label tells you the highest temperature the fabric can safely handle. When in doubt, always start with a lower temperature and work your way up.
- Fill the Tank: Before plugging it in, fill the water tank. Pro Tip: If you live in a hard water area, use a 50/50 mix of tap water and distilled water. This will dramatically reduce mineral buildup and extend the life of your iron.
- Set the Temperature: Plug in the iron and select the appropriate setting for your fabric. Wait for it to fully heat up – most irons have an indicator light that will turn off or change color when it’s ready.
- Iron with Purpose: Iron in long, smooth strokes. Start with smaller, trickier parts like collars, cuffs, and plackets first. For stubborn wrinkles, use the steam burst button. Avoid letting the hot iron sit in one spot for too long.
- Empty After Use: Once you’re done and the iron has cooled down, always empty any remaining water from the tank. This prevents leakage and buildup.
Pro Tips for a Flawless Finish
Want to take your ironing game to the next level? Here are a few tricks I’ve picked up over the years.
- Iron clothes while they are slightly damp. It makes a world of difference. The moisture works with the steam to release wrinkles much faster.
- Turn dark clothes inside out. This prevents “shine,” which can occur when the hot soleplate flattens and reflects the fabric’s fibers.
- Use a pressing cloth for delicates. For fabrics like silk, velvet, or rayon, placing a thin piece of cotton cloth between the iron and the garment provides a protective barrier.
- Hang garments immediately. Don’t let your beautifully pressed clothes sit in a pile. Hang them up right away to let them cool and set, locking in that smooth finish.
I once spoke with David Harrison, a professional tailor with over 20 years of experience, and his advice has always stuck with me.
“People underestimate the power of steam. It’s not just about heat; it’s about moisture and pressure working in harmony. A good steam iron doesn’t just flatten a wrinkle; it fundamentally reshapes the fabric at a microscopic level. That’s the secret to a look that lasts all day.”
How Can I Keep My Budget Steam Iron Working for Years?
Proper maintenance is key to getting the most out of your investment. A well-cared-for budget iron can easily outlast a neglected expensive one.
You can keep your iron in top shape with regular cleaning and descaling, which prevents mineral deposits from clogging the steam vents and staining your clothes.
Regular Cleaning
Every few weeks, wipe down the cooled soleplate with a damp cloth and a bit of mild detergent to remove any residue. For the body, a simple wipe-down is all it takes.
Deep Cleaning (Descaling)
If you notice reduced steam output or your iron is spitting white or brown flakes, it’s time to descale.
- Check your user manual first! Some irons have a specific self-clean function.
- If not, a common method is to fill the tank with a solution of one part white vinegar to one part water.
- Heat the iron to its highest setting and let it steam for a few minutes over a sink or an old towel until the reservoir is half-empty.
- Unplug it, let it cool completely, and then empty the remaining solution.
- Rinse the tank thoroughly with fresh water, refill, and steam again to flush out any lingering vinegar.
Frequently Asked Questions About Budget Steam Irons
What is the best water to use in a steam iron?
While many manufacturers say tap water is fine, using a 50/50 mix of distilled water and tap water is the best practice, especially in hard water areas. It minimizes mineral buildup (calcification) which can clog steam vents and shorten your iron’s lifespan.
How much should I expect to spend on a good budget steam iron?
A great budget steam iron can typically be found in the $25 to $50 range. In this price bracket, you can find reliable models with all the essential features like variable steam, a good soleplate, and auto shut-off, making it a perfect focus for any budget steam iron review.
Why is my iron leaking brown water?
This is almost always a sign of mineral buildup inside the iron. The brown color comes from rust and calcified deposits breaking loose. It’s a clear signal that your iron is overdue for a thorough descaling.
Is a heavier steam iron better than a lighter one?
Not necessarily. A heavier iron can help press out wrinkles with less downward pressure from you, but it can also cause more arm fatigue. Modern irons are designed to be efficient, and a good steam output is far more important than weight for effective wrinkle removal.
Can a budget steam iron work for vertical steaming?
Many budget models offer a vertical steam function, which is great for refreshing hanging clothes or curtains. However, the steam output may not be as powerful or continuous as a dedicated garment steamer. It’s a handy feature for quick touch-ups but not a full replacement.
In the end, achieving a sharp, polished look doesn’t require a high-end price tag. It requires knowledge. By understanding what truly matters—a quality soleplate, consistent steam, and essential safety features—you can easily find a fantastic iron that fits your budget. Armed with the insights from this budget steam iron review, you’re ready to find the perfect tool to conquer your laundry pile and step out the door looking and feeling your absolute best.
One thought on “The Ultimate Budget Steam Iron Review: Wrinkle-Free on a Dime”