Let’s be honest, for many of us, the ironing board is a place of dread. It’s where good intentions meet stubborn wrinkles, and sometimes, our favorite shirt pays the price. But what if I told you that learning How To Use A Steam Iron Properly isn’t just a chore, but a skill that can completely transform your wardrobe and how you feel in your clothes? It’s the secret to that crisp, polished, “just-from-the-dry-cleaner” look, and it’s easier to master than you think. Forget everything you thought you knew about ironing; we’re about to turn you into a garment care guru.
Understanding the power of steam is the first step. For those wondering about the most efficient ways to use modern features, exploring topics like how to use eco mode in steam iron can offer insights into saving energy without compromising on results.
Why Your Steam Iron is a Wardrobe’s Best Friend
A steam iron isn’t just a hot piece of metal. It’s a precision tool that uses a powerful combination of heat and moisture to relax and reshape fabric fibers. While a dry iron simply presses wrinkles out (and sometimes presses them in), a steam iron penetrates deep into the fabric. The steam moistens the fibers, making them pliable, and the heat from the soleplate then dries them into a new, smooth shape.
Think of it like this: trying to style dry hair is tough, but when it’s slightly damp, it’s much easier to manage. Your clothes are no different. This process is not only more effective but also gentler on your garments, helping them last longer.
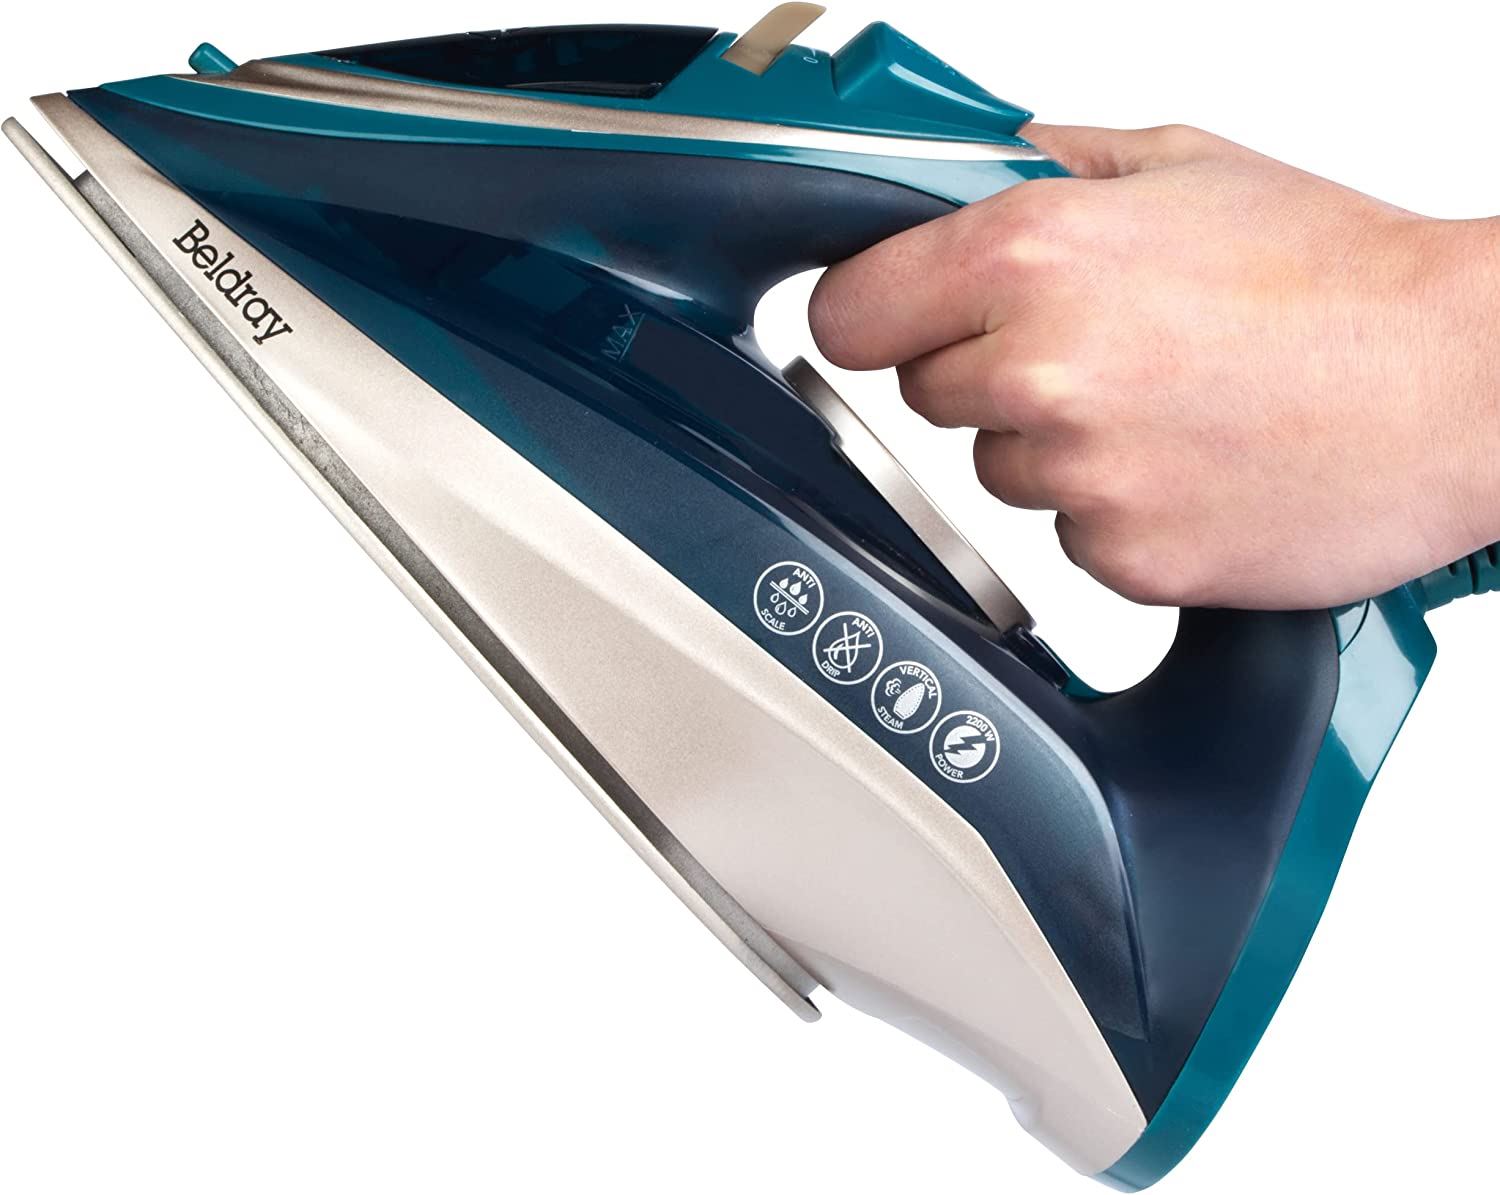
Before You Plug In: Getting to Know Your Iron
Before we dive into the technique, let’s get acquainted with your tool. A good steam iron will have a few key features that are crucial for getting the job done right. Understanding these parts is the foundation of knowing how to use it properly.
- The Soleplate: This is the metal base of the iron. They come in various materials, like stainless steel, ceramic, or titanium-coated. The key is a smooth glide and evenly distributed steam holes.
- The Temperature Dial/Digital Control: This is your command center. It will have settings for different fabric types, from delicate synthetics to rugged linen. Always respect the dial.
- The Water Tank: This is where the magic starts. A transparent tank is a huge plus, as you can easily see the water level. Capacity matters, too—a larger tank means fewer refills.
- Steam Controls: You’ll typically have a steam dial or button, a “burst of steam” button for tough wrinkles, and often a spray function to pre-dampen fabrics.
|
Our Picks for the Best Steam iron in 2026
As an Amazon Associate, we earn from qualifying purchases.
|
||
| Num | Product | Action |
|---|---|---|
| 1 | Conair Handheld Garment Steamer for Clothes, Turbo ExtremeSteam 1875W Fabric Steamer, Portable Handheld Design, Strong Penetrating Steam, White/Champagne |

|
| 2 | HiLIFE Steamer for Clothes, Portable Handheld Design, 240ml Big Capacity, 700W, Strong Penetrating Steam, Removes Wrinkle, for Home, Office(ONLY FOR 120V) |
|
| 3 | BEAUTURAL Steamer for Clothes, Portable Handheld Garment Fabric Wrinkles Remover, 30-Second Fast Heat-up, Auto-Off, Large Detachable Water Tank |
|
| 4 | HiLIFE Steamer for Clothes, Handheld Clothes Steamer with Large 300ml Tank, 1100W Strong Power, 30S Fast Heat-up, Garment Fabric Wrinkle Remover, Portable & Compact Travel Size ONLY FOR 120V (White) |
|
| 5 | HiLIFE Steamer for Clothes, Portable Handheld Design, 240ml Big Capacity, 700W, Strong Penetrating Steam, Removes Wrinkle, for Home, Office(ONLY FOR 120V)-Black |
|
| 6 | BLACK+DECKER Light ‘N Easy Compact Steam Iron, IR1020S, Stainless Steel Soleplate, Spray Mist, Anti-Drip, Auto Shutoff |
|
| 7 | Hamilton Beach Steam Iron for Clothes & Garment Steamer with Smooth Press Stainless Steel Soleplate, 1200 Watts, 8’ Retractable Cord, Black (14214) |
|
| 8 | Steamer for Clothes 1350W, Clothes Steamer for Home, Office, Travel, Upgraded 400ML Large Capacity Water Tank, Wrinkle Remover |
|
| 9 | Portable Travel Steamer, 1200W Handheld Fabric Steamer for Clothes, 4 Modes with LCD Display, Powerful Wrinkle Remover for Home & Travel, 150ml Water Tank, 10S Fast Heat-Up, 180° Swivel Handle |
|
| 10 | BLACK+DECKER Easy Steam Compact Iron, IR06V, Dual Position Cord, TrueGlide Non-Stick Soleplate, Vertical Steam, SmartSteam |
|
The Ultimate Step-by-Step Guide on How to Use a Steam Iron Properly
Ready to get started? Grab your iron and an unloved, wrinkly shirt, and let’s walk through this together.
- Read the Care Label: This is the golden rule. Before you do anything, check the garment’s care tag. It will tell you the ideal heat setting (often shown with a dot system) and whether it can be ironed at all. Ignoring this is the fastest way to a melted shirt.
- Prepare Your Station: Set up your ironing board in a well-lit area near a power outlet. Make sure the board cover is clean and smooth. Have a place ready to hang your freshly ironed clothes immediately—this is critical to prevent new wrinkles from forming.
- Fill the Water Tank: Unplug the iron first! Using the provided cup or a small jug, fill the tank with water. Here’s a pro tip: if you live in a hard water area, use distilled or demineralized water. This prevents mineral buildup (limescale) that can clog steam vents and stain your clothes. Never overfill past the “MAX” line.
- Set the Right Temperature: Plug in the iron and set the temperature dial according to the fabric you’re starting with. A good rule of thumb is to start with fabrics that require the lowest heat (like synthetics and silk) and work your way up to cotton and linen. This saves time, as an iron cools down much slower than it heats up. Wait for the indicator light to turn off or signal that it has reached the desired temperature.
- The Art of Ironing: Lay the garment flat on the board. Iron in long, straight strokes. Avoid moving the iron in a circular motion, as this can stretch and damage the fabric fibers. For shirts, start with the collar, then the cuffs, then the sleeves, and finally the main body. This methodical approach ensures you’re not wrinkling parts you just ironed.
- Master the Steam: For most fabrics, a continuous steam setting works wonders. For extra-stubborn creases, especially on cotton or linen, use the “burst of steam” button. This sends a powerful jet of steam deep into the fabric to relax the fibers instantly.
- The Aftercare: As soon as you finish a garment, hang it up on a hanger to cool and set. Once you’re done with your entire batch, unplug the iron and empty any remaining water from the tank. This is crucial for preventing leaks and prolonging the life of your iron. Let it cool down completely before storing it upright.
Pro Tips and Tricks for Flawless Results
Now that you have the basics down, let’s level up your skills with some insider secrets that make a world of difference.
How do I avoid those shiny marks on dark clothes?
To prevent shine on dark fabrics like wool or dark cotton, iron them inside out. If you must iron on the right side, place a clean, thin piece of cotton cloth (like a pillowcase or a dedicated press cloth) between the iron and your garment. This buffers the direct heat and protects the fabric’s finish.
What about delicate fabrics like silk or velvet?
For silk, use a low temperature setting and a press cloth. For velvet or corduroy, never let the iron’s soleplate touch the fabric directly. This is a perfect scenario for vertical steaming. For those interested in mastering this technique, our guide on how to use steam iron for vertical steaming provides detailed instructions for handling these tricky garments.
“The biggest mistake people make is using too much pressure. Let the heat and steam do the work for you. A light, gliding motion is far more effective and safer for your clothes than pressing down with all your might.” – Sarah Jenkins, Bespoke Tailor
Keeping Your Iron in Tip-Top Shape: Maintenance is Key
A happy iron means happy clothes. Regular maintenance is non-negotiable if you want your steam iron to perform its best and last for years. The number one enemy is limescale buildup from minerals in tap water.
How often should I clean my steam iron?
You should clean your iron every one to three months, depending on your usage and water hardness. If you notice white flakes on your clothes or a reduction in steam output, it’s definitely time for a cleaning. A popular and effective method involves a common household item. To understand this process better, you can refer to our detailed post on how to clean steam iron with vinegar, which offers a safe and thorough cleaning routine.
What if my iron stops producing steam?
This is a very common issue, and it’s almost always due to clogged steam vents. Before you panic, a good cleaning usually solves the problem. However, if the issue persists, it might be something else. This situation has similarities to the issues covered in our guide on how to fix steam iron not steaming, which can help you diagnose and resolve the problem.
Frequently Asked Questions (FAQ)
What’s the difference between a steam iron and a garment steamer?
A steam iron uses a combination of heat, pressure from the soleplate, and steam to create crisp, sharp creases. A garment steamer only uses steam to relax wrinkles and is better for delicate, difficult-to-iron items like beaded dresses or blazers.
Can I use tap water in my steam iron?
While you can, it’s not always recommended. If your home has hard water, the minerals will build up and clog your iron over time. Using distilled, deionized, or demineralized water is the best way to extend the life of your iron.
Why is my steam iron leaking brown water?
This is usually a sign of rust or mineral buildup inside the iron. It’s a clear signal that your iron is overdue for a thorough cleaning.
Is it okay to leave water in the iron after use?
No, you should always empty the water tank after each use. Leaving water in can lead to internal corrosion, mineral buildup, and leaks the next time you heat it up.
How do I iron a pleated skirt without flattening the pleats?
Iron from the top of the skirt to the hem, following the direction of the pleats. Use a spray bottle to lightly mist the fabric and use the tip of the iron to get into the folds. You can even use paper clips to hold the pleats in place at the hem as you work your way down.
Your Journey to Perfect Garments Starts Now
Mastering your steam iron is more than just learning a new household skill; it’s an investment in your clothes and your personal presentation. By understanding the fundamentals of your tool, respecting the needs of your fabrics, and applying the right techniques, you can achieve professional-quality results right at home. You now have the knowledge of how to use a steam iron properly. So go ahead, conquer that laundry pile with newfound confidence, and enjoy the satisfaction of a perfectly pressed wardrobe.